
Website: support.electricquilt.com
Email:
Phone: 419-352-1134
Email:
Phone: 419-352-1134
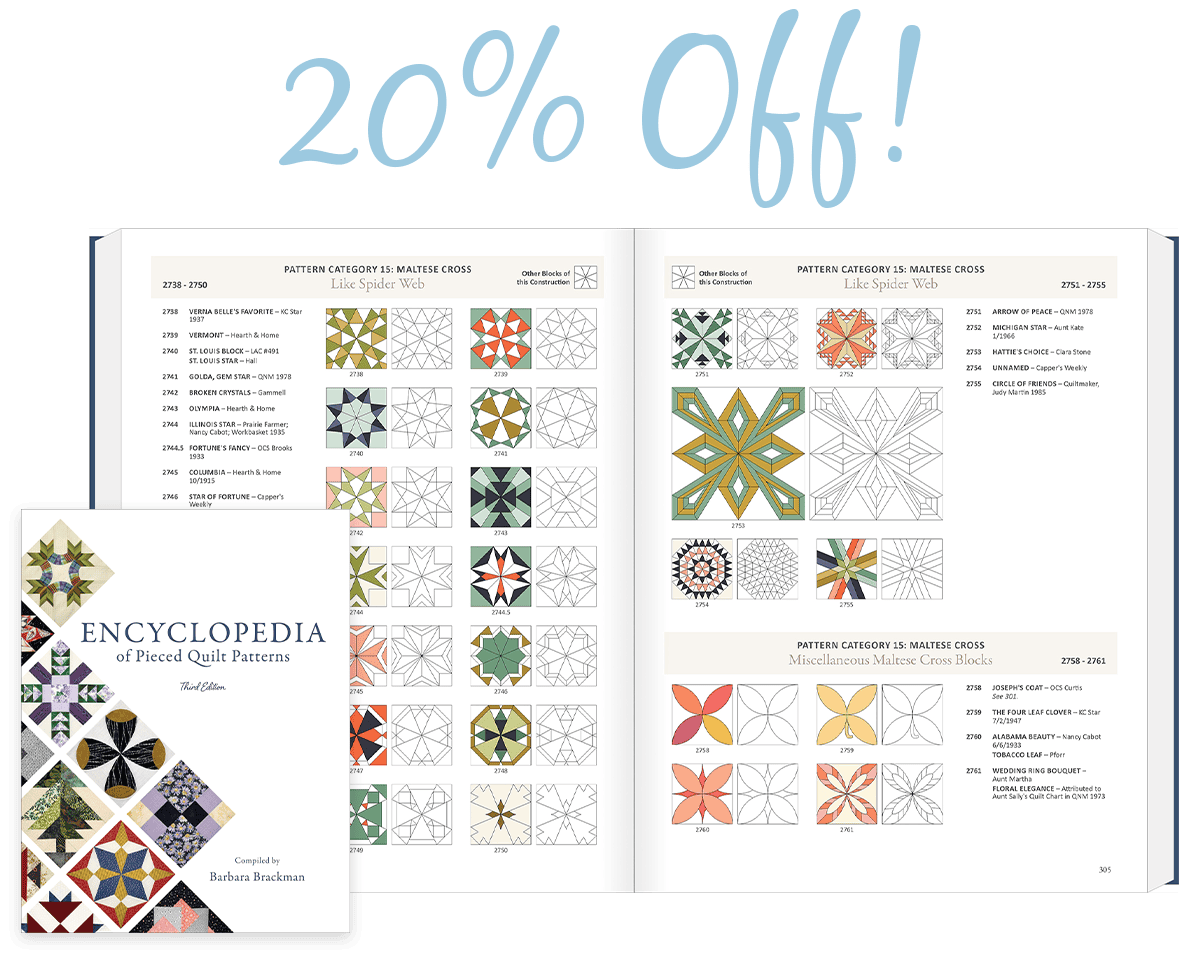
20% off THE book!
Use code BRACKMAN.
Ends in 20Hrs:37Min:52Sec.

OFFER DETAILS
Offer only applies to the Encyclopedia of Pieced Quilt Patterns at ElectricQuilt.com.
Apply code BRACKMAN in cart. Cannot be combined with any other offer.
Sale ends April 23, 2024 at midnight, ET. All prices are in U.S. Dollars (USD).
Offers do not apply to classes or events.
Quilt by Amy Friend.
EQ Product Support
Select a Product


Error Codes and Common Questions
Frequently Asked Questions
- Top Ways to Get Started with EQ8
- Can’t move templates in Print Preview
- Differences in BlockBase and BlockBase+
- A Special Note about the Block Patterns
- EQ Account vs EQ License ID & Password
- Missing folders in your My EQ8 directory
- macOS Catalina: Error attempting to print, change printer fonts, or use appliqué text tool
- macOS: Issues with Fonts or Images in EQ8 Printouts
- Installing on a Computer with No CD Drive
- EQ Compatibility with 64-bit macOS


